You can add your Billetto event attendee emails to Mailchimp lists automatically using this simple Zapier integration.
In order to add your attendees to Mailchimp:
- Login or Sign up for Zapier;
- Click on "Make a Zap" (depends on your view, but most often it's on the left-hand side of your screen);
Search for Billetto in your first step: 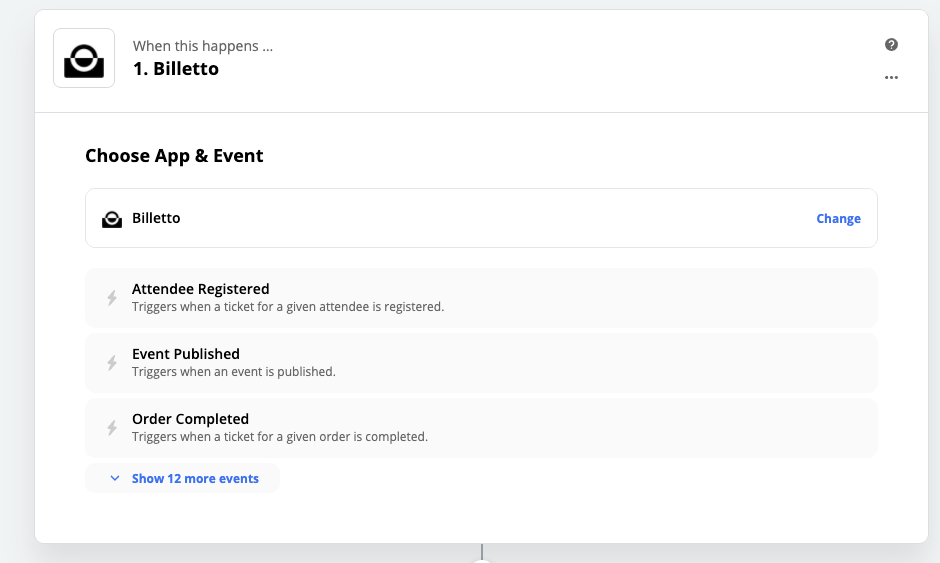
- Choose "Attendee Registered" trigger;
- Connect to your Billetto account. A pop-up will ask you to log in to Billetto;
- Click "Continue" & test the trigger. Please note, in order for this trigger to work you should have an active event on Billetto and some event registrants/attendees. If you have an event, but no one has purchased a ticket yet, you can create a single free ticket with a code & "purchase" it yourself (don't forget to subscribe to the newsletter). This will then be used as an example for your first Zapier trigger;
- Click "Continue" when your trigger test has been completed.
Now, you need to make sure that your attendees have given consent to be added to your newsletter. There's a field that they mark when they purchase a ticket. In order for your to only send these subscribers into Mailchimp, you have to apply a filter to this trigger.
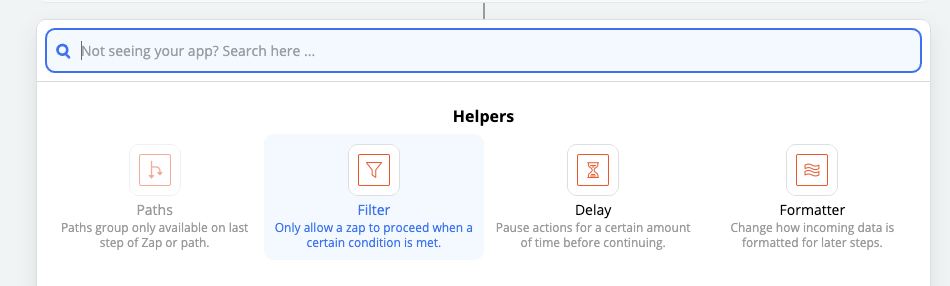
- Select "Filter" from a list of actions:
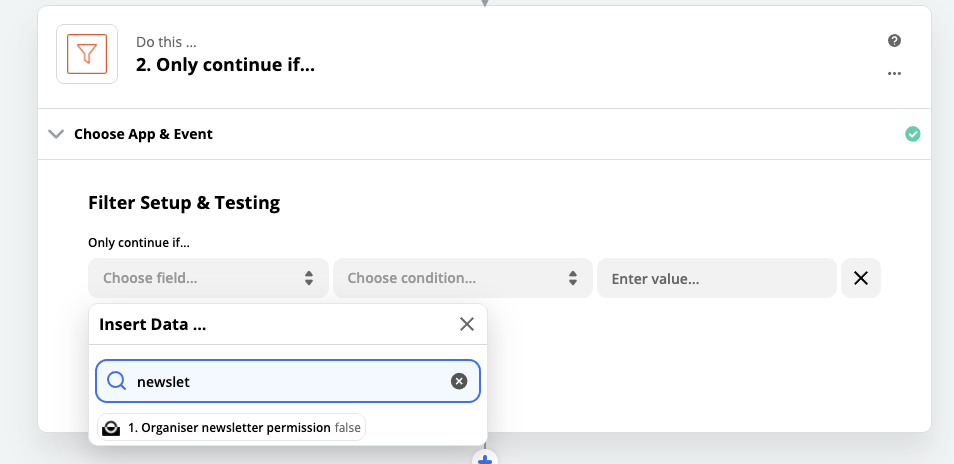
- Search for the "Organiser newsletter subscription" value in the first field:
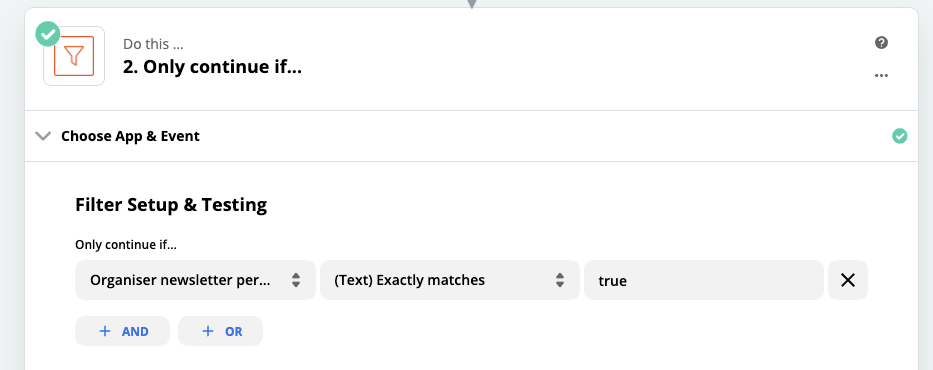
- Choose "(Text) exactly matches" as a condition and "True" as a value. It should look like this:
- Click "Continue" and follow to the next action (click on a blue + symbol to add a new action)
- Now you need to connect to Mailchimp. Simply search for it in the next field:
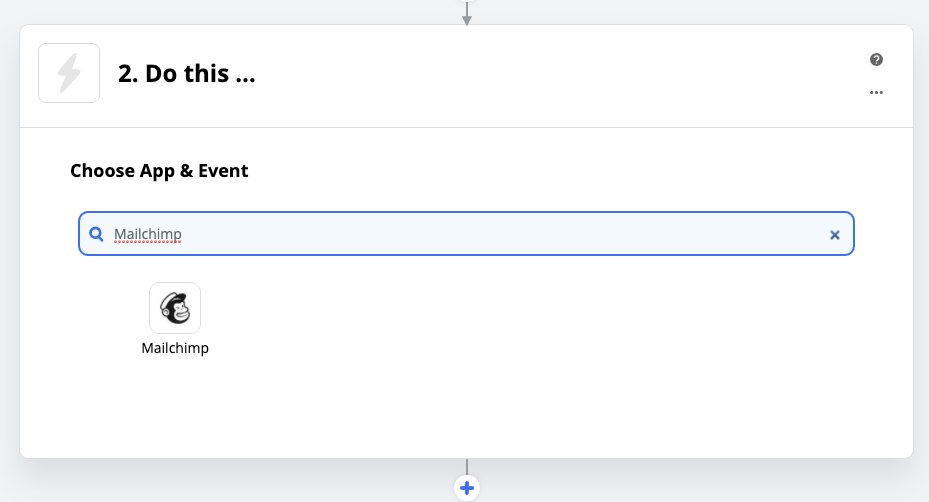
- Choose "Add/Update Subscriber" and click Continue;
- Select the Mailchimp account you want to use for this integration. You will need to log in to your Mailchimp account;
- Find the audience you want to send the subscriber to and adjust the rest of the settings if there are any other details you need to send to your Mailchimp account. Remember to add the subscriber email value to the "Email" field:
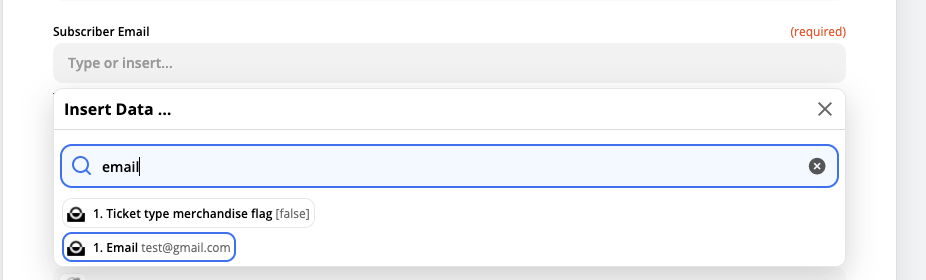
- Click "Test & Continue".
- Now you just need to name your Zap and turn it on.
Next time someone purchases a ticket for your event and ticks the box to receive the newsletter, they will automatically be added to your Mailchimp list.
NOTE: This solution requires you to create a free Zapier account. Zapier has free & paid account plans depending on your needs.