Before you start, make sure you have already created a Facebook pixel in your Facebook advertising account. Here’s how you do it.
Setting up the pixel for your Billetto profile will make sure that the pixel is tracking all of your current and upcoming events. Here’s what you do:
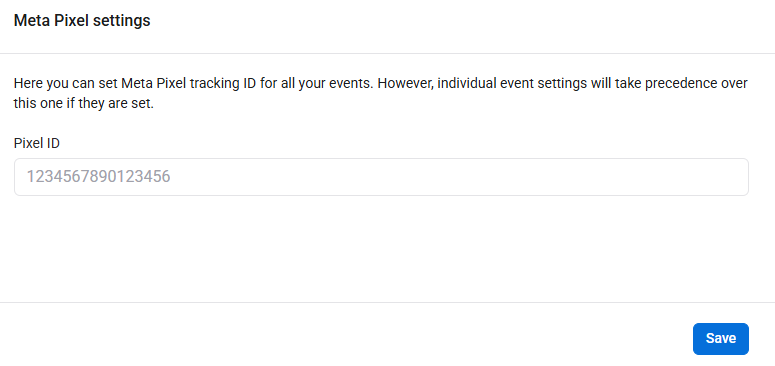
Setting up the Meta pixel for all your events
- Go to Manage
- Click on Integrate then Analytics in the sidebar;
- Paste your Meta Pixel ID and click Update.
It may take up to 24 hours for Facebook to register traffic from your Meta pixel. You can now set up the campaigns based on your events and track Purchase conversions.
NOTE: The event level Meta Pixel will take priority over the account-wide, and will override it.
If you only want to track sales from just one event on your Billetto account, you can also enter the pixel code for a single event. Here’s how:
Setting up the Meta pixel for the event
- Go to My Billetto and click Manage on the event you want to add the pixel to;
- On the left-hand side, click on Marketing and then Analytics ;
- Paste your Meta Pixel ID into the field & click Save.
It may take up to 24 hours for the Meta pixel traffic to appear on your Facebook advertiser account. You can then use the pixel to track Purchases for your event through the campaigns on your Facebook account.
What data is sent to Facebook?
Inserting your Meta Pixel in Billetto will ensure that two “Meta Pixel standard events” are being sent to Facebook:
- “Pageviews” (all pageviews of pages that have your Meta Pixel ID)
- “Purchase” (all ticket purchases of events that have your Meta Pixel ID)