
Connecting the Terminal:
- When you receive it, charge it and turn it on.
- You only need to connect it to wifi, then it is ready for use.
- Enter network settings in the terminal, find network, select the wifi you want to use and enter wifi password, like when you connect any other device to wifi.
- If a code is required to access network settings, you will find it inside the terminal package, or you can reach out to your Billetto Commercial contact to get it. The code consists of 4 digits.
Connecting the Printer:
After having logged into the POS software using the organizer key, access printers in the left menu.

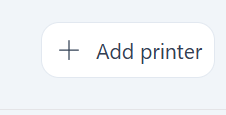
Then, click Add printer in the top right corner.
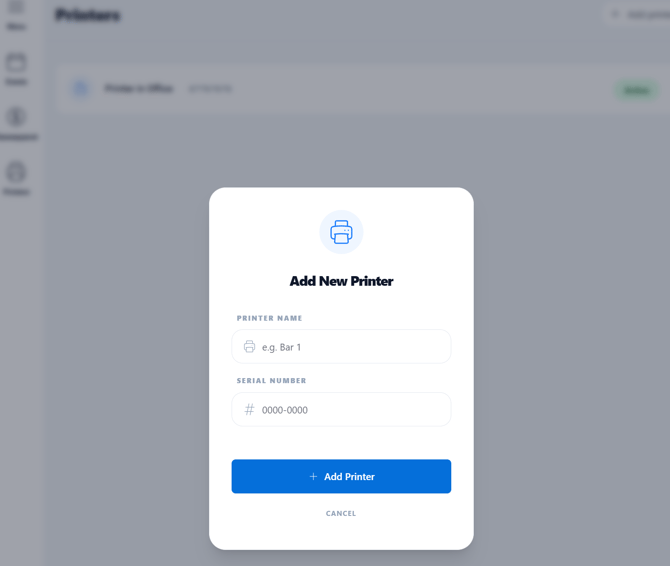
In the popup, enter the serial number you find on the label on the printer, give the printer a name and click the big blue button to add the printer.
The printer now appears on the list. Click the button to the right to set it active. This turns green and displays “Active”. Now the printer is ready to use and is set as the default printer

As a last step, connect the printer to wifi by following instructions