
Get started and log in:
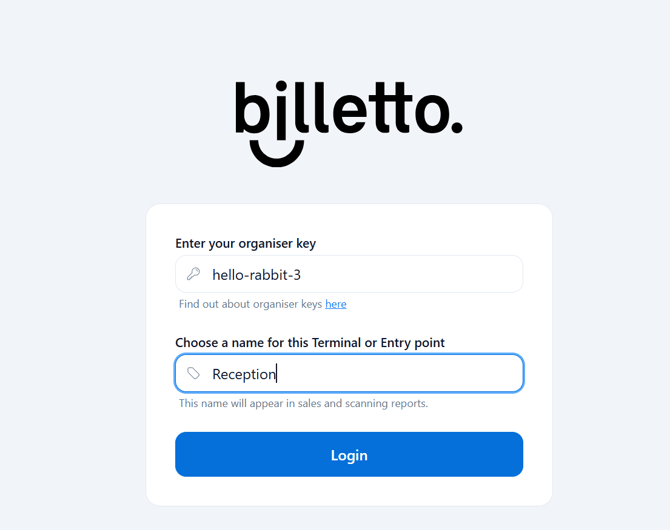
- Go to the Billetto POS startpage depending on the country (e.g. https://billetto.dk/pos/).
- Insert your organizer key, give your device or place a name (e.g. ‘Reception’ or ‘Entrance A’ or ‘28-Feb’), and click Login
Select event to sell tickets and products for
You will automatically start at the “Events” section.
You can always navigate between the different POS sections in the left menu.
Choose the event you will be selling tickets or products for.
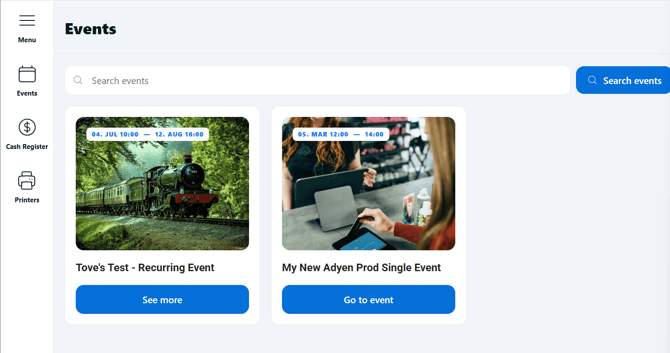
You start by clicking “Go to event”.
You are now at the core POS screen and see all ticket types.
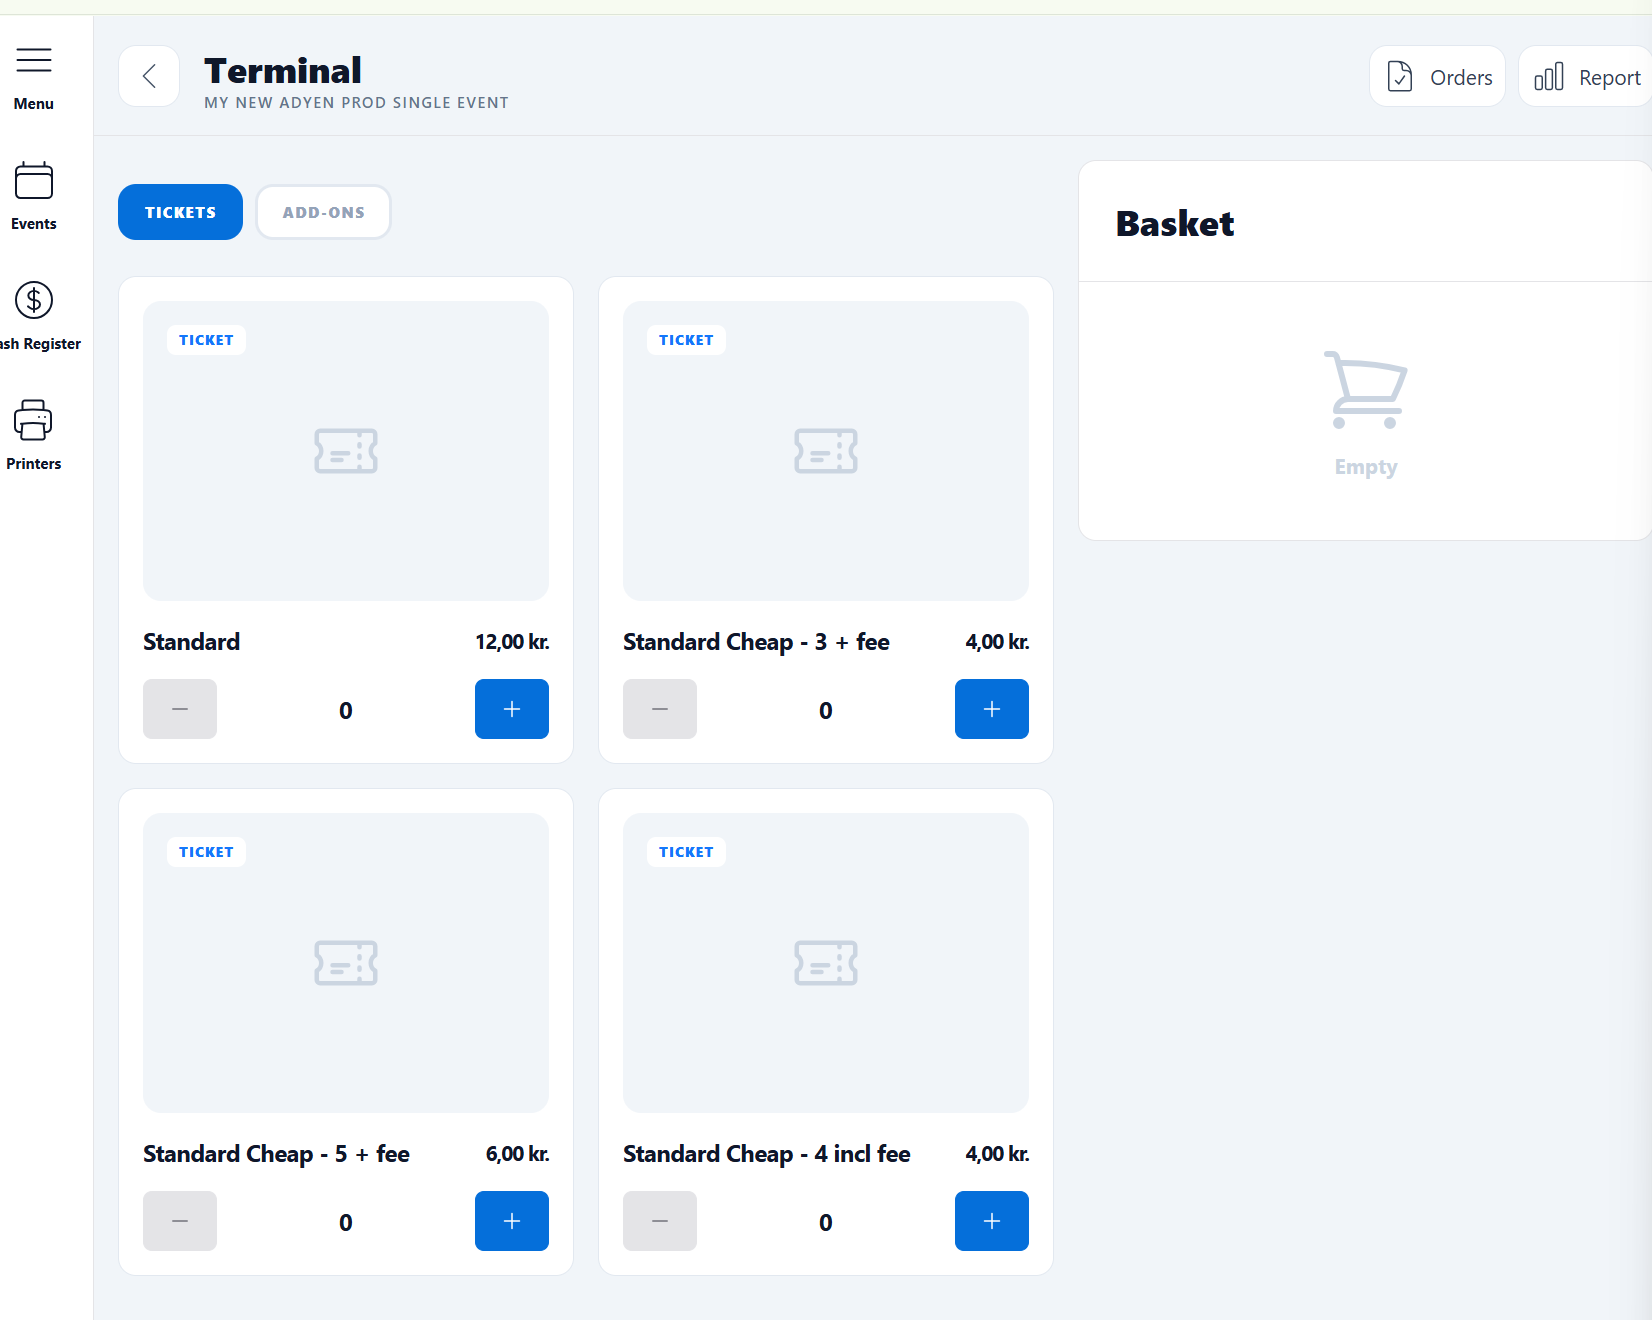
If the event has addons, you switch between tickets and addons in the top.
Create an order and receive card payment
Click + and - to add or remove products in the basket.
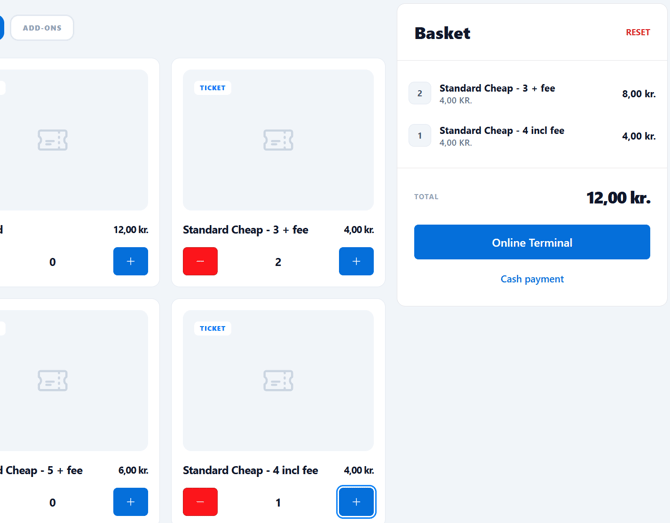
If you need to start all over, click “reset” (red text) in upper right corner of basker.
Switch to Addons to add any of these in the same way.
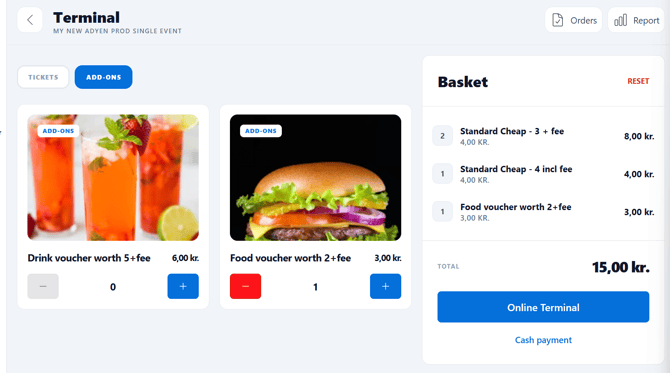
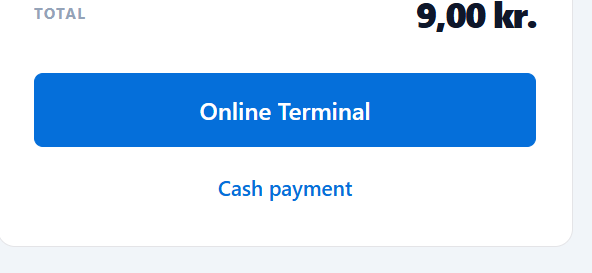
When all tickets and products have been added, click Online terminal (big blue button in basket).
If you have more than one terminal, check it is the proper one preselected in the dropdown.
Choose whether a ticket and receipt should be sent via e-mail (yes or no), and eventually select whether the order is for entrance now or later.
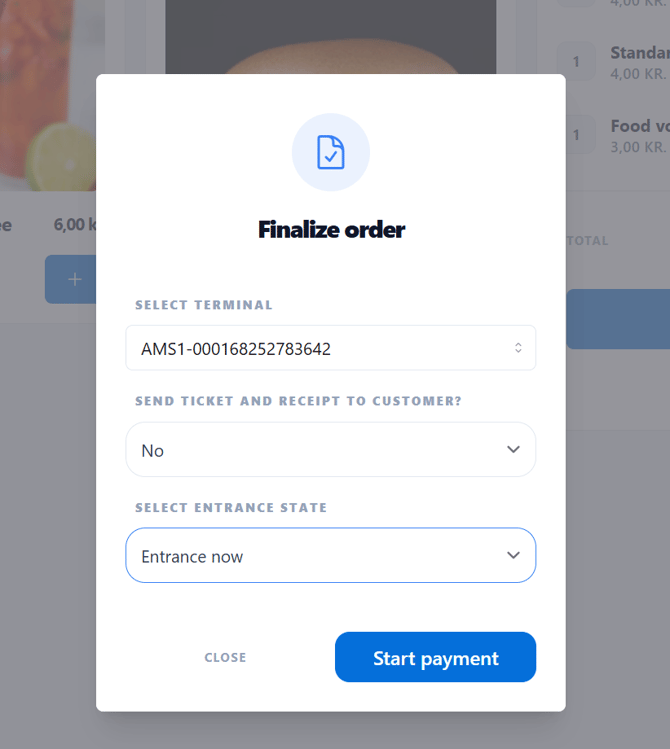
Click “Start payment” to transfer the amount to the terminal and receive the payment.
The amount is displayed at the terminal.
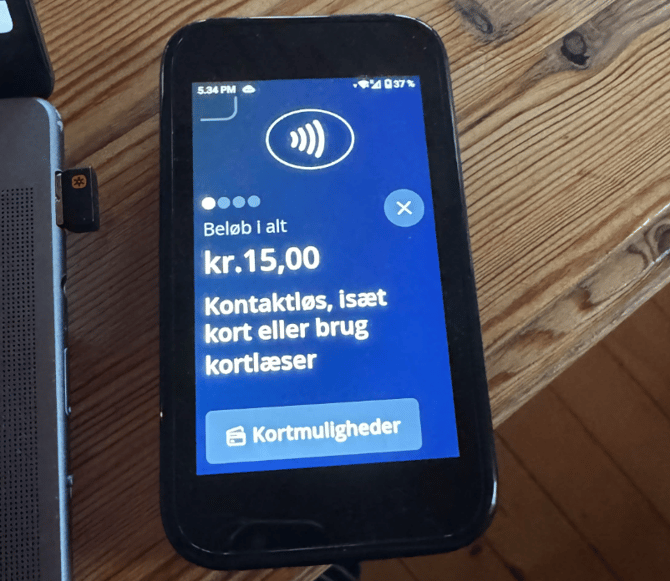
Tap a card (physical card or card on smart device) or insert a card to pay. If prompted, enter PIN code.
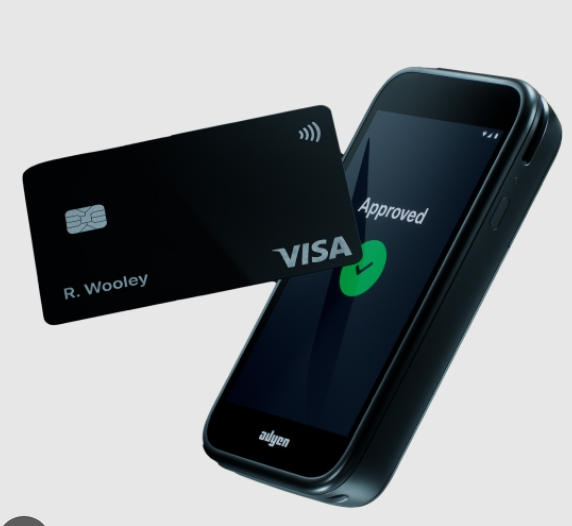
After the successful payment, the confirmation is shown on the screen in the POS system.
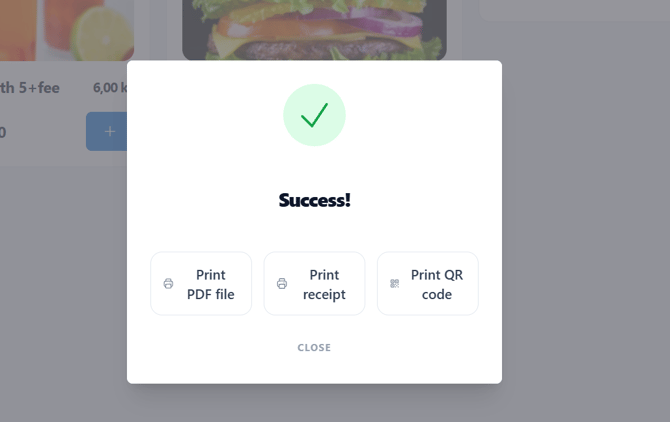
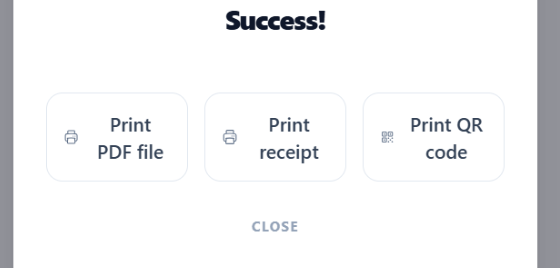
Click the buttons to print the receipt or QR code, if a printer has been added (see previous section). If you want to print the full page ticket, click “Print PDF file”.
Receive cash payment instead
If you receive cash instead of a card payment, follow all steps for creating the order (adding tickets and products to the basket), and then click Cash payment instead (just below Online terminal).
Ready for next order
As soon as payment has been received and you have printed and/or clicked Close, the POS system is automatically ready for the next order with a fresh basket.
List of orders/order details
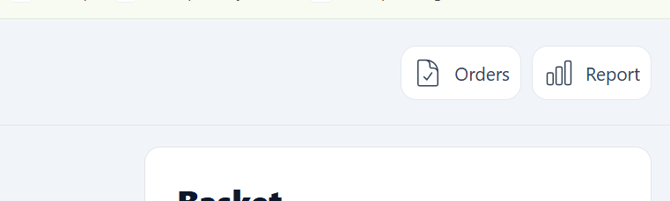
In the top, you can click Orders to see a complete list of orders for the event - both door sales orders (card and cash) and online orders, to have everything collected in one place.
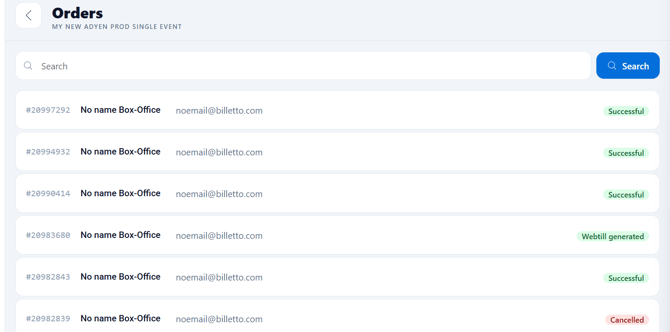
Click an order to see all details (tickets, products, buyer, time, payment type etc.). Receipt and tickets can also be (re-)printed from here.
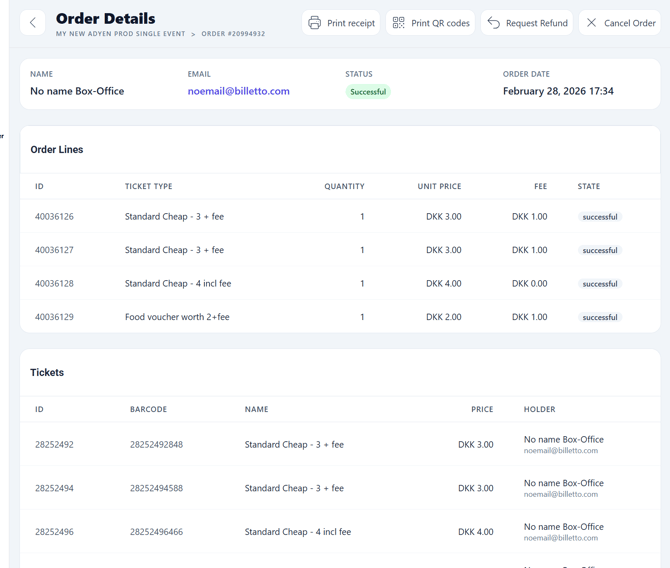
Refunds
From an individual order, it is also possible to refund an order.
Use “Request Refund” in order to initiate an automatic refund (the order amount is refunded all the way back to the ticket buyer, and refunded to the same card).
The ticket price is refunded - not the fee.
If an e-mail is associated with the order (if the e-mail of the buyer was put in as part of the purchase - see previous section), a refund receipt (credit note) will also be sent via e-mail.
Cash sessions
If you want to register cash sessions that all orders are automatically related to, click Cash Register in the left menu. Enter name of employee, start amount in cash and hit start.
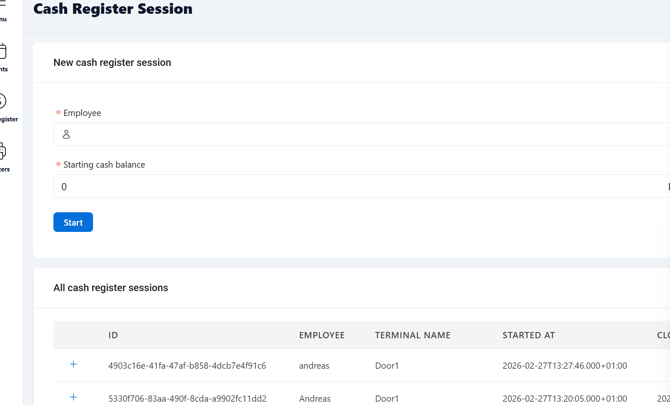
Close the cash session again from the same page when you are complete.
End and log out
You can always end selling and log out securely using the red button in the bottom of the left menu.
Questions or needs to contact support?
You can always get in contact with us using our support phone number you find online, or through: Contact us.